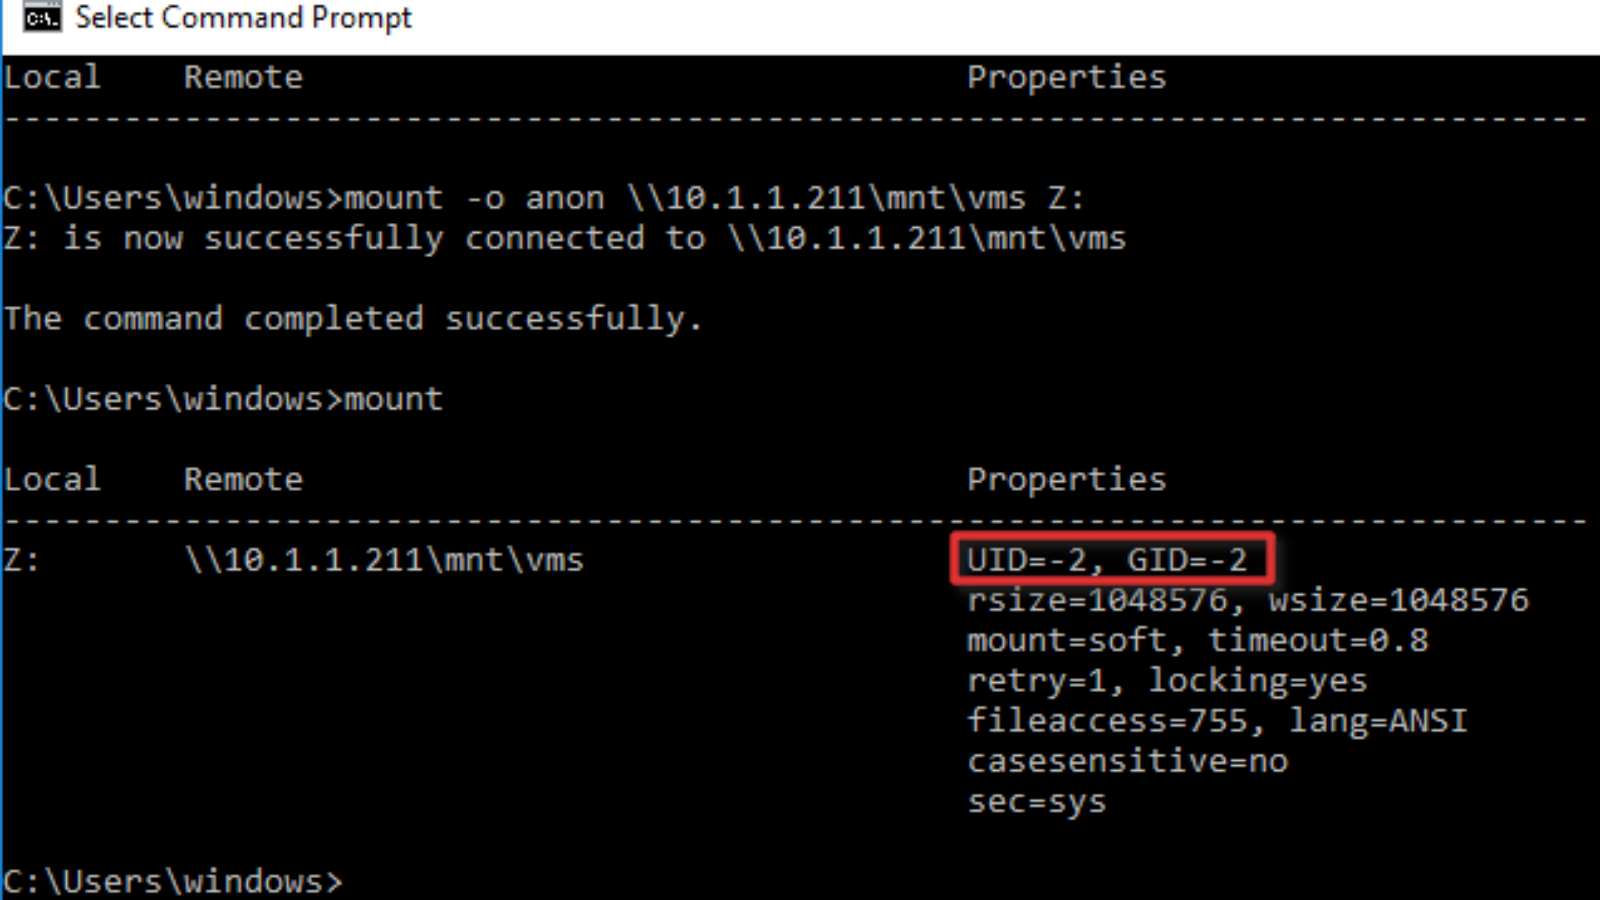
It is easy to mount a drive from Linux NFS share on Windows 10 & 11 machines. To do that make sure you have NFS Client (Services for NFS) installed from Programs and Features. Following is the command to mount the NFS drive. Note that this command will run on cmd (Command Prompt) and not on PowerShell.
mount \<IP_ADDRESS>\<PATH_TO_DIR>\ drive:
For example, if the IP address of the NFS share is 10.235.0.10 and the directory you want to share is /var/www and you want to mount it to your Z drive, then you can run the following command.
mount \\10.235.0.10\var\www z:
But when you mount the drive you can browse the files using your Windows Explorer but you cannot create new files or edit any files.
How to enable write access on NFS share?
To get write access on NFS share you have to make a small change in the Windows registry before mounting the drive. Follow these steps.
- Open regedit by typing it in the search box end pressing Enter.
- Browse to HKEY_LOCAL_MACHINE\SOFTWARE\Microsoft\ClientForNFS\CurrentVersion\Default.
- Create a new New DWORD (32-bit) Value inside the Default folder named AnonymousUid and assign the UID found on the Linux directory as shared by the NFS system. This is the UID of the user that has the write access to that directory on the Linux system.
- Create a new New DWORD (32-bit) Value inside the Default folder named AnonymousGid and assign the GID found on the Linux directory as shared by the NFS system. This is the GID of the group that has the write access to the directory on the Linux system.
- Restart the NFS client or reboot the machine to apply the changes.
Now run the mount command and you will get the write access.


[…] https://ibexoft.com/mounting-nfs-share-on-windows-10-with-write-access/ […]
Is the numeric IP required or can the mount command do a DNS translation (assumes the PC is setup correctly for DNS)?
I haven’t tried it but I think it should work.
It says ‘The command completed successfully.” but nothing is visible in the directory. Everything is visible from another linux machine on the same network.
You might need to refresh your explorer window.