Nowadays it is a must-have skill to use docker for your development. To start the development with docker here are some prerequisites: If you're on Windows you have WSL installed on your system. It will also be required for Docker. You have D ...
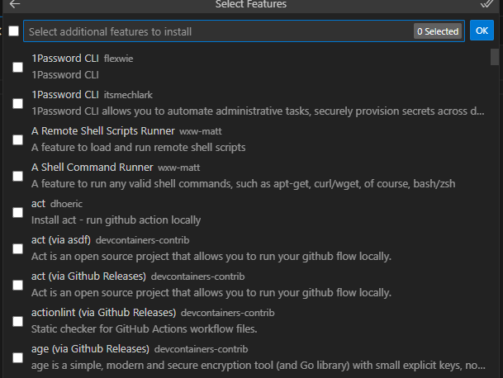
Nowadays it is a must-have skill to use docker for your development. To start the development with docker here are some prerequisites: If you're on Windows you have WSL installed on your system. It will also be required for Docker. You have D ...
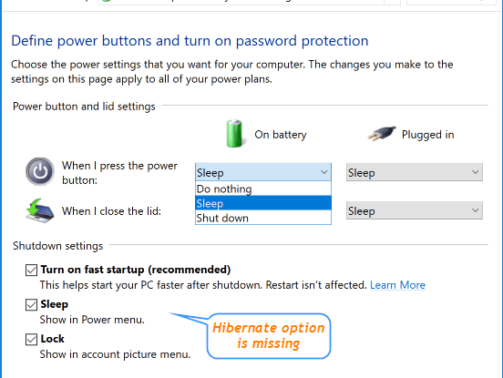
Is Hibernate option missing from the Power Options in the Control Panel like in the screenshot below? Here is a way to restore the missing Hibernate option back to the Power Options. How to fix it? Click the Cortana Search box on your t ...
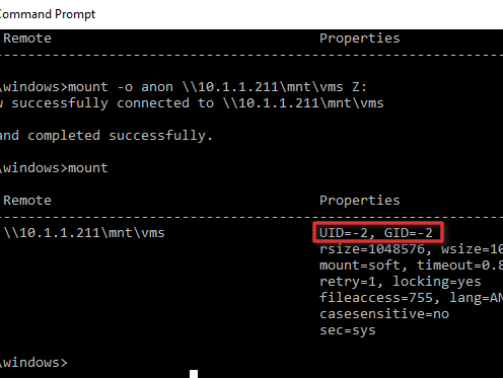
It is easy to mount a drive from Linux NFS share on Windows 10 & 11 machines. To do that make sure you have NFS Client (Services for NFS) installed from Programs and Features. Following is the command to mount the NFS drive. Note that this comman ...
Microsoft has announced that Visual Studio 2017 will be available for download on Tuesday, March 7, 2017. Microsoft is also celebrating a launch event. You can join at 8:00 AM PST on March 7th and 8th for a two-day online event celebrating the launch ...

I have curated a list of free tools, services, and apps that startups could and in fact should use to grow at the initial stage. Free doesn't mean they lack quality, instead, these free tools are from top-notch companies like RedHat, Google, Asana, a ...

Our focus is to deploy our ASP.Net MVC app built using new Visual Studio 2015 MVC template to AppHarbor via GitHub.

When working with MS SQL Server sometimes you need to find a stored procedure in the databases and all that you know is the name of the stored procedure that your teammate told you that he had used but couldn't remember in which database it was. All ...
A few days back I came across a requirement to fetch the records from the table having all lowercase letters. This was an interesting scenario. The SQL Server database by default is set for case-insensitive. But, I need to do a case-sensitive search. ...

After installing the Ruby installer you might need to install some gems. For example, if you are developing with RedHat OpenShift you want to install 'rhc' gem to access remote files on OpenShift. To install 'rhc' you would run the following command. ...
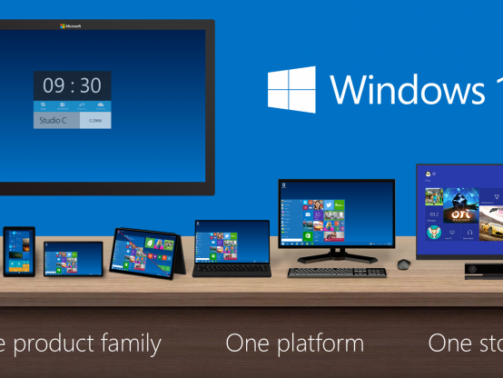
My first experience with Windows 8 inspired bafflement and frustration. But I walked away from my first few minutes with Windows 10 with a sense of jealousy. It looks like a significant improvement, and I want it on my PC right now. Microsoft is lau ...
Note that mod_rewrite can only be used with the web server Apache. Follow the instructions below to check whether module mod_rewrite is installed and correctly configured on your server. Create the file .htaccess and add these two lines RewriteEngin ...

From the Applications menu, select Email. This application may be named Mail on some versions of Android. Type your full email address, for example [email protected], and your password, and then select Next. Select Exchange account. This option ...
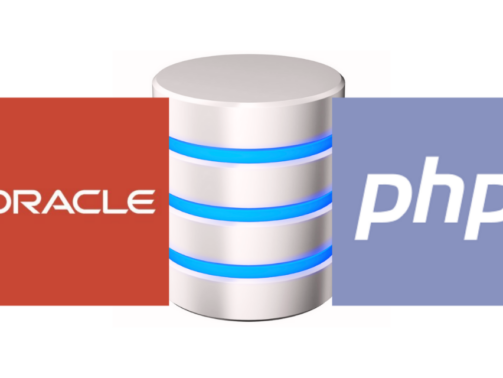
If you need to convert between Oracle date and PHP/Unix timestamp then you might need to implement two functions in Oracle. The following two Oracle functions implement this for DATE types. To convert a UNIX timestamp into an Oracle DATE type: CREA ...

Both PHP and Oracle provide functionality manipulating dates and times. Which to use and when? If you're new to PHP or Oracle, working out how to handle dates efficiently can be tricky. You may have strategies, which you've applied successfully on o ...

Face it: Google runs your life. The search giant turned web ecosystem owns your email, calendar, and even your voicemails. Your most important data lives on Google's servers. What you may not realize is that, despite the quality of Google's produc ...

Use overload Response.Redirect(String url, bool endResponse) if using in try catch block.
It's really easy to call REST based web services from C#.Net. Let's see how to do it. We'll be calling Yahoo Web Services as an example here. Make REST Calls With C# The .NET Framework provides classes for performing HTTP requests. This HOWTO descr ...