

Here’s the Oracle Database 11g Express Edition step-by-step installation on Windows 7 64-bit. Please bear in mind Oracle provides only 32-bit version of Oracle XE.
When you download the software from Oracle, you’ll need an account and you’ll need to accept the license agreement.
- You’re prompted to accept the license agreement and can’t proceed without doing it.
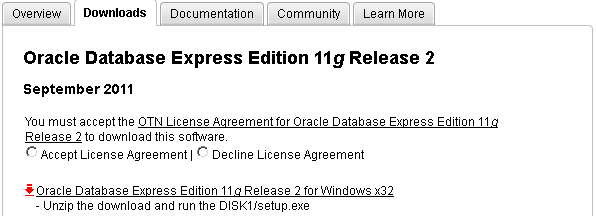
- After accepting the license agreement you can download the software.

- Unlike, the Oracle 10g XE MSI file, you’ve downloaded a compressed (
OracleXE112_Win32.zip) file, and you’ll need to explode the zip file and write it to a directory. When you write it to a directory, it looks like the following and you double click on thesetupfile.
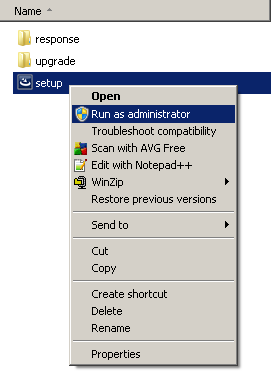
 It’s recommended that you right click on the
 setupprogram and run it as the Administrator. If you’ve not disabled Microsoft User Access Controls (UAC), I’d do that first.
- After launching the
setupfile, you see the Install Shield wizard screen while the file loads, like this:
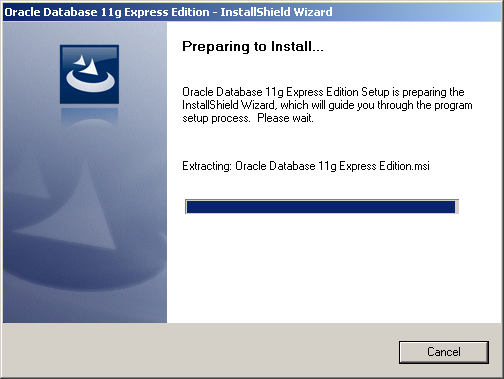 After launching the
 setup file, and loading the MSI file, you see the first dialog box of the installation. Click the Nextbutton to start the installation.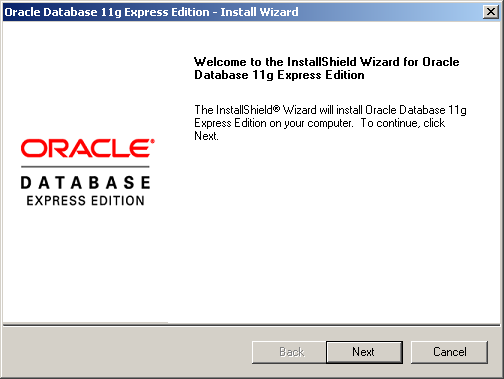
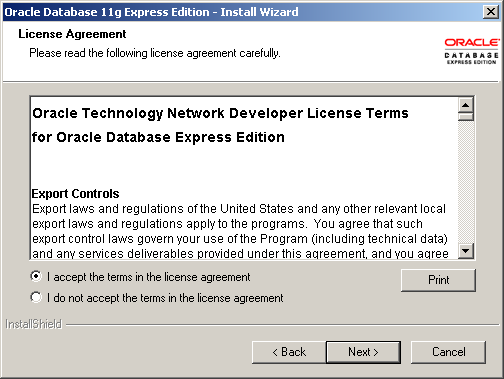
- The second dialog box is the license for the installation. Click the I accept the terms in the license agreement. radio button and then the Next button.
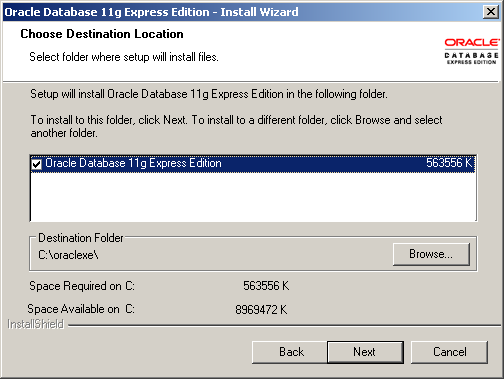
- The third dialog box lets you accept the default location or provide an override location. If you accept the default location, click the Next button to continue.
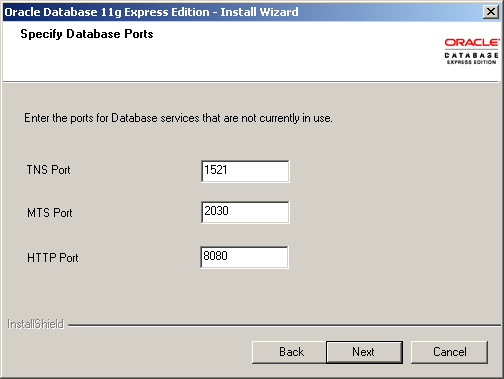
- The fourth dialog box lets you specify the TNS, MTS, and HTTP Ports. The default values are shown in the following screen shot but I’ve change my TNS port to 1621, which you’ll see later. Click the Next button to continue.
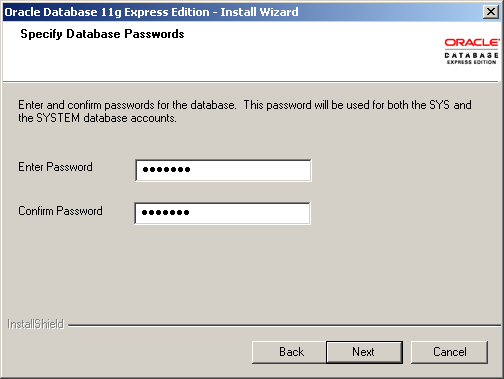
- The fifth dialog box lets you enter the password for the
SYSandSYSTEMusers. You must enter it twice and naturally they must match each other. Click the Next button to continue.
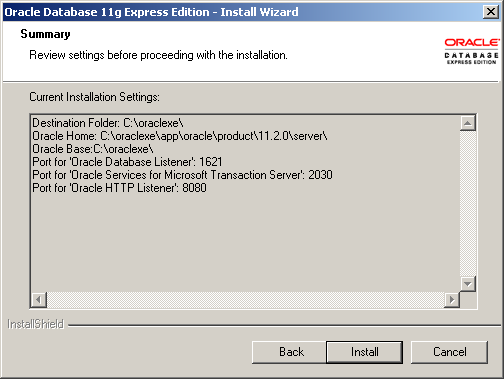
- The sixth dialog box lets you see the configuration options you’ve chosen. Note that this installation is using a TNS port of 1621 rather than the default of 1521. Click the Next button to continue.
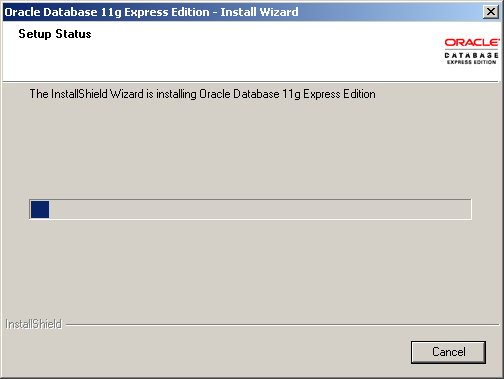
- The seventh dialog box lets you see the progress bar, take a break it can run for two or three minutes. Click the Next button to continue.
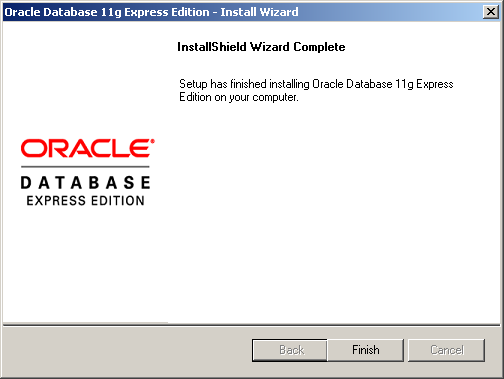
- The last dialog box lets you see that you’ve installed the product. Click the Finish button to complete the installation.
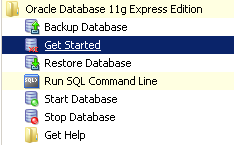
You’ve now installed Oracle Database 11g Express Edition. You can start the command line by typing sqlplus system/password in command shell or the Get Started option in your Program Menus, as shown below.
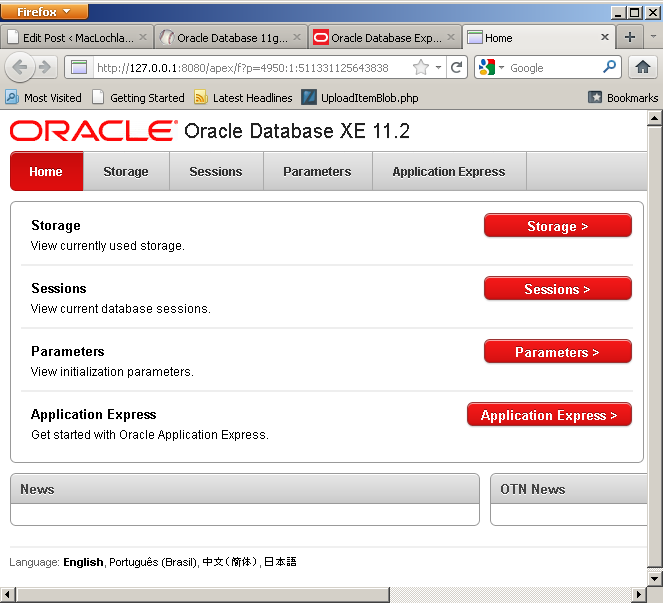
You should see this console when you launch Get Started or manually type http://localhost:8080/apex.
Hope this helps folks.
[Ref: http://blog.mclaughlinsoftware.com/2011/09/13/oracle-11g-xe-install/]


hi iam install newly oracle 11g
i open desktop icon but it shows Windows cannot find ‘http://127.0.0.1:%HTTPPORT%/apex/f?p=4950’. make sure you typed the name correctly, and then try again.
please help me what can I do for, how to overcome this error
i’ve been connected to oracle database, what’s next?
voala! you can now run queries.
This is the link of the fix that deals with an error of missing file during install…
http://blog.mclaughlinsoftware.com/2011/09/13/oracle-11g-xe-installer/
There was a fix for running the XE on 64 bit Windows. I did it after installing the DB and getting 2 errors along. I will post the link. It’s about changing registry keys. But, for sure, Steven Hamilton is right – if your data is valuable, DO NOT INSTALL this on your 64 bit machine!
If you are trusting data on an x64 install you are minutes/hours away from disaster.
You may think it’s working but check the error logs Its throwing up errors every 10 seconds. It is not certified for x64 and does not work. Period.
It also works on WINDOWS 8 64 bit